How to Complete SDK Integration in Apptrove for Accurate Mobile App Tracking?
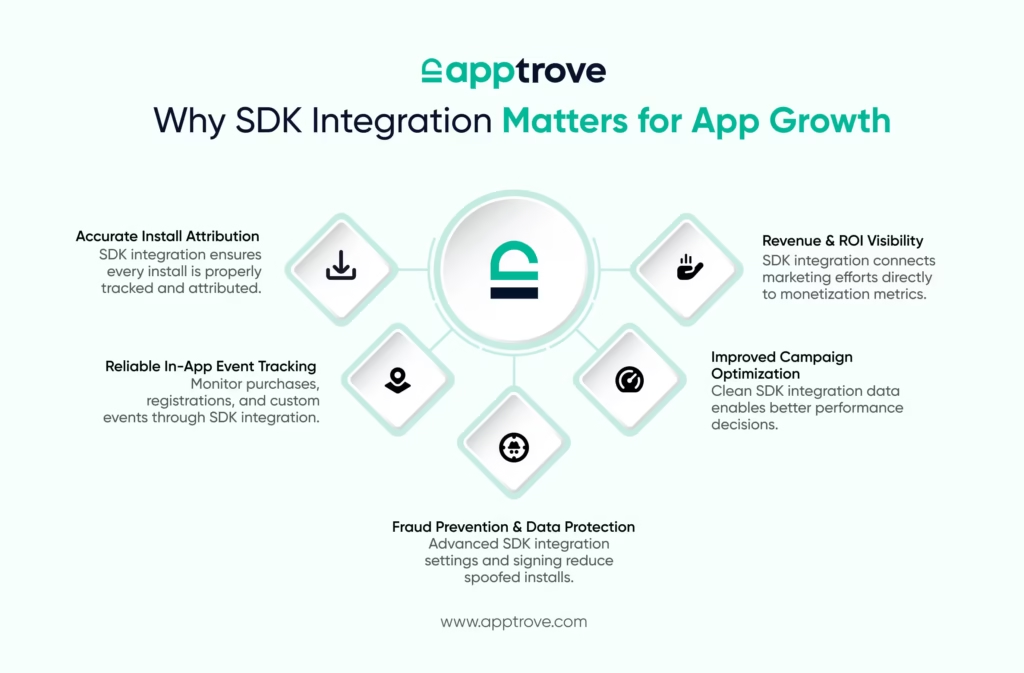
To accurately monitor installs, in-app events, revenue, and campaign activity in your mobile application, you need SDK integration. Apptrove provides developers with a comprehensive SDK integration process that connects an app with analytic tools, re-engagement tracking, fraud detection, and ad network attribution.
This documentation outlines the entire workflow for integrating SDKs through Apptrove, including finding your SDK key, configuring advanced settings, and activating SDK signing for security.
What is SDK Integration?
- An SDK (Software Development Kit) allows you to add tracking capabilities to your iOS, Android, Unity, or React Native Application with Apptrove.
- After successful completion of SDK integration, you can track installs, record in-app events, attribute revenue, measure re-engagement campaigns, and apply fraud detection.
- All applications that are registered in Apptrove will be provided with a unique SDK key for successful integration.
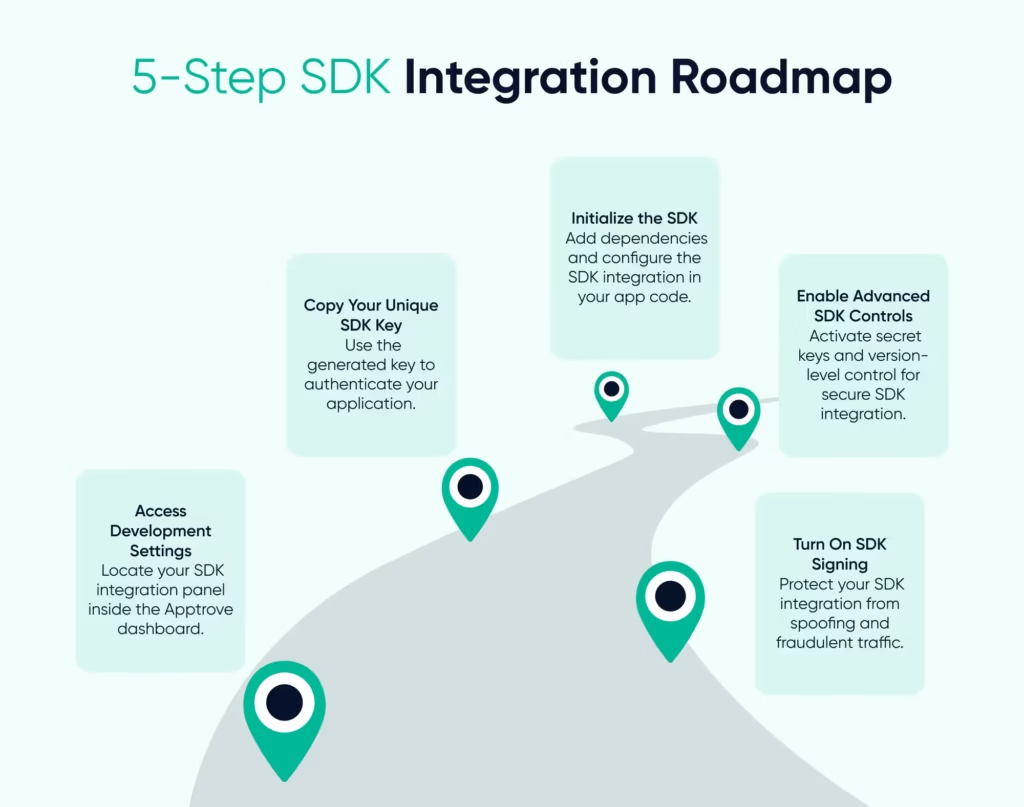
Step 1: Navigate to SDK Integration Settings
To start the process of integrating your SDK,
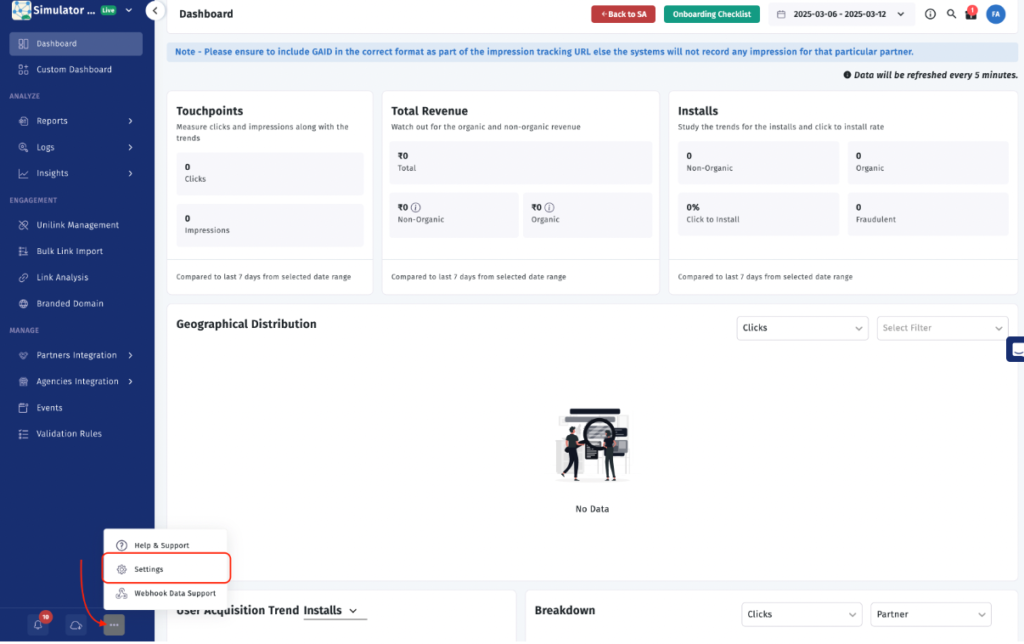
– Log into your Apptrove Dashboard.
– Click on the Settings icon in the left panel.
– Click on the Development tab at the top of the page.
Within the Development tab, you’ll see:
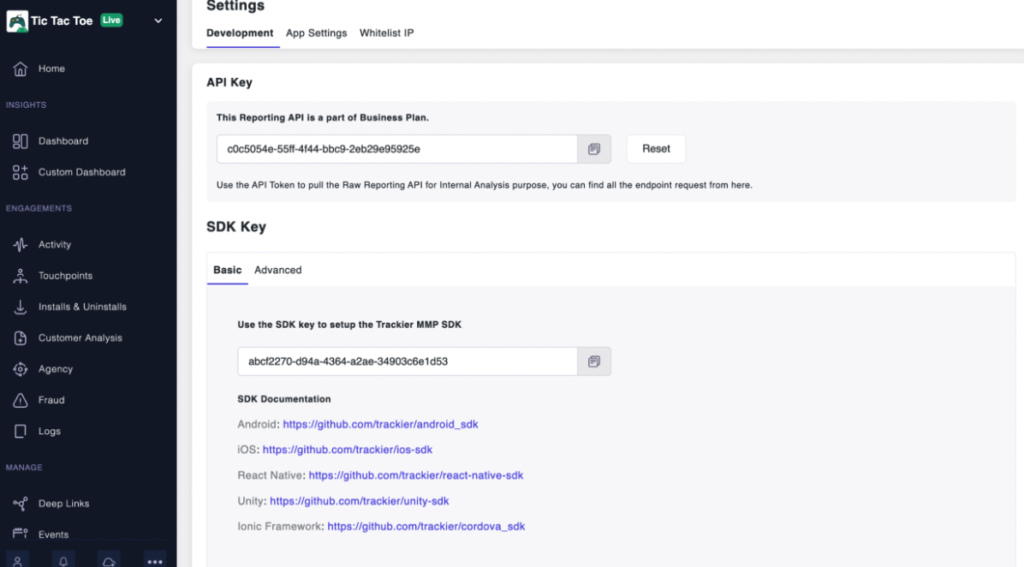
– API Key (this is your unique identifier used to access APIs)
– Basic SDK Key (required to complete your integration)
– Links to the SDK Implementation Guide
These three items are the central hub for all of your SDK integration information.
Step 2: Copy the Basic SDK Key
Within the SDK Keys section of the Settings/Development tab (under the Basic SDK Key), is your unique Basic SDK Key created specifically for your App. This key must be added during the SDK integration initialization process within your App source code.
The Basic SDK Key provides:
– Install Tracking
– Event Tracking
– Standard Attribution
– Basic Fraud Monitoring
Apptrove provides documentation links directly within this section for:
Integrating the SDK with the various Platforms:
• React Native SDK Integration
• Ionic/Cordova SDK Integration
To complete SDK integration into your app, please consult the applicable Platform-Specific Documentation.
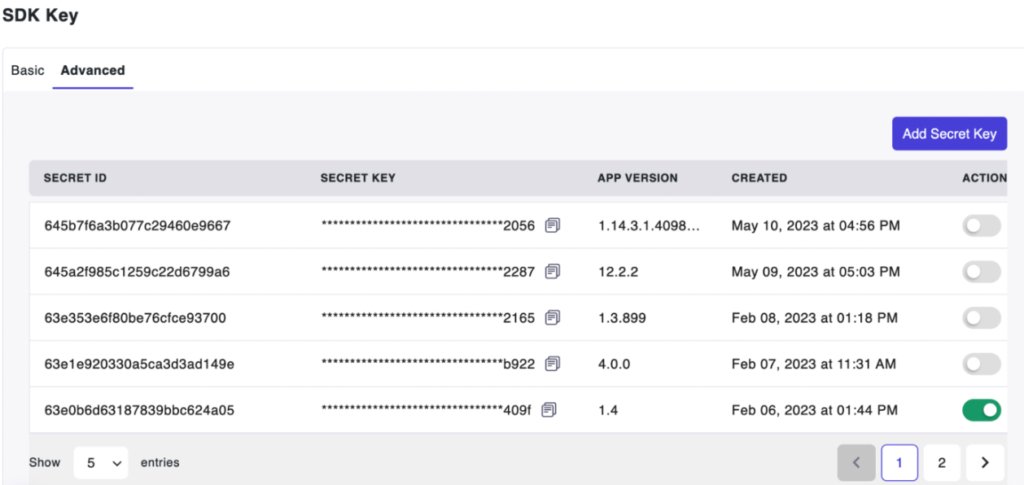
Step 3: Use the Advanced SDK Integration
Apptrove supports a mechanism called the Advanced SDK Key for greater control over SDK Integration.
When using the Advanced TAB, you can:
• Generate multiple Secret Keys
• Assign SDK Keys to App Versions
• Enable or Disable Keys
• See the Date and Time when you Created the Key
When integrating via the Advanced Integration method, you can also specify which SDK Keys you want to accept traffic from; all traffic from an SDK Key not in your approved list will be automatically flagged as fraudulent and a valid reason will be assigned to there for doing so, which provides you with an additional layer of protection and will enhance the overall security of the SDK integration process.
Step 4: Initialize the SDK in Your Application
Once your SDK key has been copied, the following steps will be required for the integration of the SDK.
Initialization typically consists of:
- Add SDK Dependency
- Add SDK KEY in the Configuration
- Enable Tracking for Install and Event
Each platform has its own detailed setup instructions located in the Dashboard. You must complete initialization before you update your app to ensure event and install tracking is occurring. Without successful SDK Initialization, installs and events will not be tracked.
Step 5 – Enable SDK Signing for Security
The integration of an SDK by itself does not safeguard against any fraudulent activity that may occur through SDK Spoofing, which is when a fraudster sends a fake Attribution Request to the Tracking Servers.
To mitigate this, SDK Signing is provided by Apptrove to:
- Verify that all legitimate requests for the SDK have been made
- Prevent fake install data from being sent to you
- Enhance the accuracy of the Attribution of the install to ensure you’re not wasting your advertising budget by paying for fraudulent clicks
It is strongly encouraged that you enable SDK Signing as part of your overall SDK Integration process.
Step 6: Track In-App Events (Optional)
Installing and getting an install tracker installed by using the SDK is necessary. Tracking user actions through in-app events is optional, but it will bring great benefits.
You can use the SDK to track the following events:
- Purchases
- User signups
- Level completions
- User Subscription
- Custom actions performed by users.
For each event you want to track, you need to implement event calls using the methods described in your SDK documentation.
Setting up your event tracking will help improve the effectiveness of your campaigns by enhancing performance analysis and optimizing your marketing strategies.
To ensure a healthy and successful install tracker SDK integration:
– Use the correct SDK key
– Do not use old/expired secret keys
– If possible, turn on Advanced SDK Key Controls
– Turn on SDK Signature for fraud protection
– Always test your events in a staging environment before launching them in production
– Frequently update your SDK version
When an install tracker SDK is configured correctly, the result will be accurate attribution, cleaned data, and improved performance for your marketing efforts.
Conclusion
When you integrate your SDK into Apptrove, it is done so through an organised process that is secure and allows you to have complete visibility of your app’s performance.
From generating your SDK key through activating advanced fraud controls and SDK signing, each step provides a critical link in ensuring your data is accurate. Completing your SDK integration correctly will allow you to unlock accurate install tracking, in-app event tracking, revenue attribution and protection from fraudulent activity.
Please follow the steps provided above, use the relevant documentation links related to your platform, and be sure you test your SDK integration thoroughly before deploying it.
from Apptrove https://apptrove.com/how-to-complete-sdk-integration-in-apptrove/
via Apptrove


Comments
Post a Comment